You’ve got the voice, now let’s add some magic. As a musician, you’re always seeking that perfect sound.
Curious about autotune in GarageBand? You’re in the right place. We’re about to explore how to use this powerful tool effectively.
From subtle vocal tweaks to full-on autotuned effects, we’ve got you covered. Remember, practice makes perfect, so don’t be afraid to experiment.
Let’s dive in and find your unique sound with autotune in GarageBand.’
Key Takeaways
- Autotune, also known as pitch correction, is a crucial tool in music production and is used in various genres.
- GarageBand offers built-in pitch correction and external paid autotune plugins.
- Adjusting the intensity of autotune and experimenting with different settings can help achieve the desired effect.
- GarageBand 10.0.3 has an auto-tuning feature that allows users to adjust the pitch of vocals, and it also offers options like Limit to Key and Pitch Correction for fine-tuning vocals.
Enhancing Vocals with Autotune in GarageBand
In GarageBand, autotune, or pitch correction, can significantly enhance your vocal tracks. This powerful tool adjusts the pitch of your vocals to match the key of the song, ensuring a harmonious blend.
Let’s explore how to effectively use this feature to improve your music production.
Overview of Autotune’s Role in Music Production
With the help of autotune in GarageBand, you’re able to add professional polish to your vocal tracks by correcting pitch and enhancing overall sound quality.
Autotune’s role in music production includes:
- Smoothing out fluctuations in pitch
- Ensuring vocals blend seamlessly into a mix
- Adding stylistic effects to a vocal track
- Enabling the use of external autotune plugins for advanced control.
- To expand your knowledge on this subject, learn more about what Autotune is.
Getting Started with Autotune in GarageBand
Before you begin using Autotune in GarageBand, it’s essential to understand the basic principles of pitch correction.
Preparing your GarageBand session for Autotune is a crucial step that will streamline your workflow.
In this section, we’ll guide you through these initial steps to ensure a smooth start to your Autotune journey.
Basic Principles of Pitch Correction in GarageBand
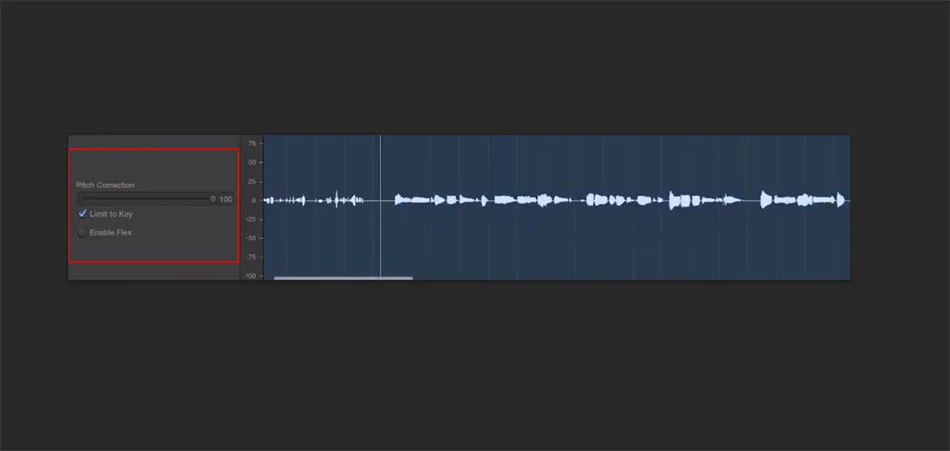
Why should you care about pitch correction in GarageBand and how does it relate to using Autotune?
Here’s why:
- Autotune, or pitch correction, is a tool built into Garageband used to adjust the pitch of your vocals.
- For a deeper understanding of this tool, you can understand how Autotune works in detail.
- The pitch correction tool in GarageBand lets you control the extent of tuning.
- Learning the basic principles of pitch correction enhances your music production skills, elevating your tracks.
Preparing Your GarageBand Session for Autotune
To get started with Autotune in GarageBand, you’ll first need to prepare your session by setting up your project’s key signature and tempo.
Then, create a new audio track for your recording.
Enable the Autotune plugin within the track settings.
Preparing your GarageBand session for Autotune is crucial for a smooth recording process and to ensure accurate pitch correction.
Step-by-Step Guide: Using Autotune in GarageBand on Mac
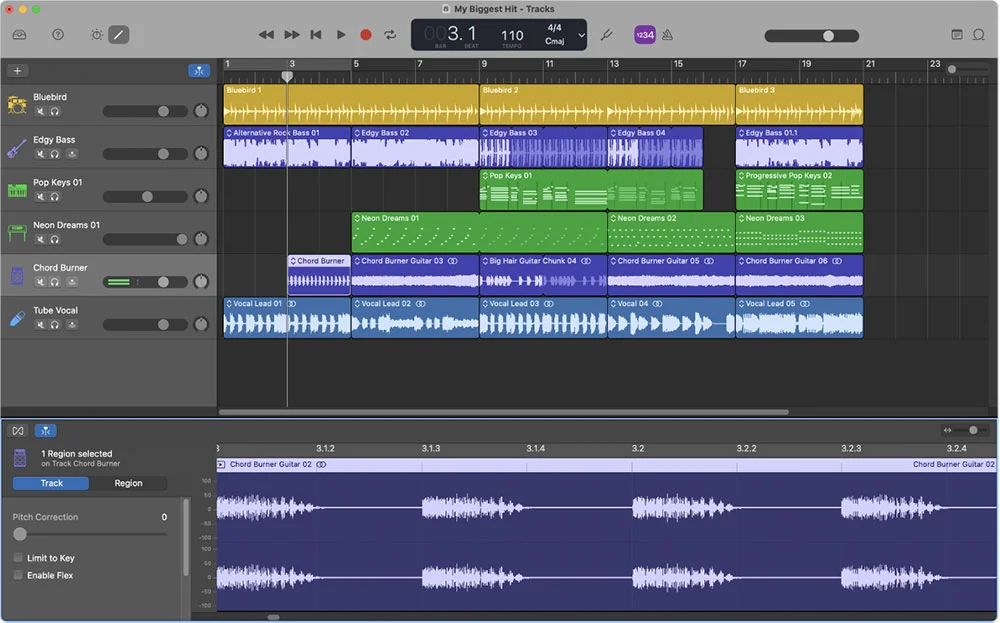
Now, let’s get you started with using Autotune in GarageBand on your Mac.
From identifying the key of your track to adjusting pitch correction for optimal results, we’ll guide you through each step.
Whether you’re aiming for a natural or a stylized Autotune effect, these tips will help you achieve the sound you’re after.
Finding the Key of Your Track
Before you can effectively use autotune in GarageBand on your Mac, you’ll need to determine the key of your track. Here is a simple guide:
- Play your track and use a tool like Melodyne to help identify the key of the song.
- In Garageband, select your track and open the ‘Editor’ menu.
- Click ‘Enhancements’, then ‘Tune’.
- Select the correct key under ‘Pitch Control’. Experiment until your autotune sounds right.
Recording Vocals and Setting Up Autotune

Once you’ve determined the key of your track, it’s time to record your vocals and set up autotune in GarageBand on your Mac.
To get started, select ‘New Track’ then ‘Vocal’. After recording, select the track and click ‘Show Editor’.
Under ‘Pitch Correction’, adjust the slider to your preference. Try the free autotune plugin or Antares Autotune for a polished sound.
Adjusting Pitch Correction Settings for Optimal Results
After recording your vocals, you’ll need to fine-tune the pitch correction settings for the best possible sound in GarageBand.
- Start by adjusting the ‘Pitch Control Knob’ to modify the amount of pitch correction.
- Next, explore the ‘Free Autotune Plugins’ available to use in GarageBand.
- Then, understand the feature called ‘Pitch Correction’ to enhance your vocals.
- Finally, make sure you explore all the plugin options to achieve optimal results.
Tips for Achieving a Natural or Stylized Autotune Effect
Now that you’ve explored adjusting pitch correction settings, let’s dive into five essential tips on how to achieve either a natural or stylized autotune effect in GarageBand on your Mac.
| Tips for Achieving | Natural-sounding Vocals | Stylized Autotune Effect |
|---|---|---|
| 1. Proper Pitch | Set correct key | Experiment with key |
| 2. Subtlety | Less auto-tune | More auto-tune |
| 3. Context | Listen in song’s mix | Isolate vocals |
| 4. Practice | Regular use | Diverse uses |
Use autotune in GarageBand wisely to make your vocals sound professional.
How to Use Autotune in GarageBand on iOS Devices
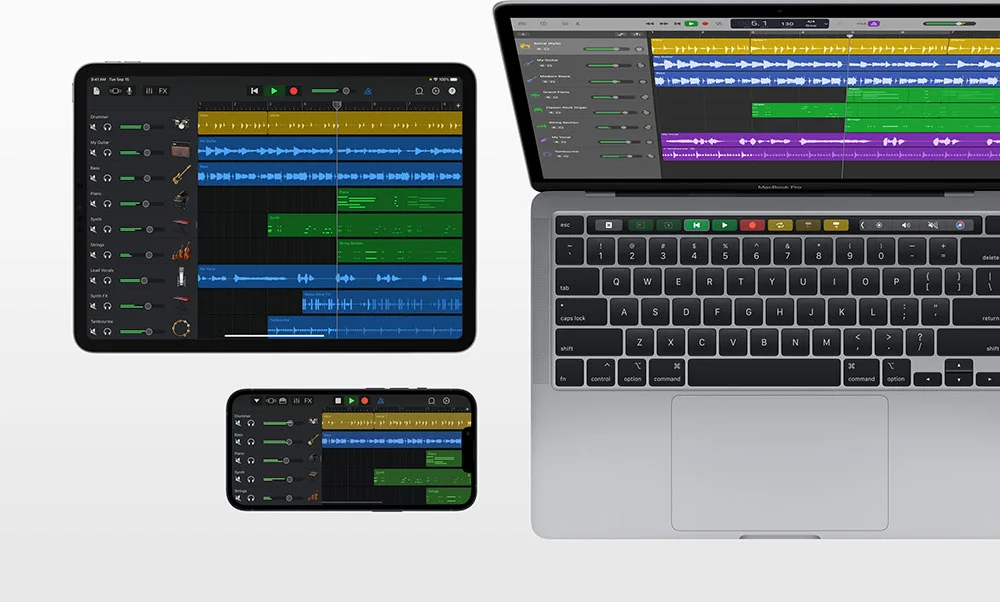
Now, let’s shift our focus to using Autotune in GarageBand on iOS devices.
You’ll learn how to:
- Set up a vocal track
- Apply Autotune to your vocals
- Customize settings to suit different vocal styles.
Understanding these points will enable you to enhance your mobile music production skills efficiently.
Setting Up a Vocal Track on GarageBand for iOS
To set up a vocal track on GarageBand for iOS, start by launching the app on your device. Here are the steps:
- Select ‘Audio Recorder’ from the main menu.
- Tap on ‘Voice’ then choose ‘Lead Vocals’.
- Start recording your vocals by hitting the red record button.
- Apply autotune by selecting ‘Track Controls’, ‘Plug-ins & EQ’, and then ‘Pitch Correction’.
Now, you’re all set to use autotune in the iOS version of GarageBand.
Applying Autotune to Your Vocals on iPhone or iPad
Starting with autotune in GarageBand on your iPhone or iPad involves a simple process that you’ll quickly get the hang of.
First, enable flex within GarageBand.
Then, control your vocal effects using the pitch correction software. This autotuning tool can be found in the ‘Track Settings’ under ‘Pitch’.
Adjust the slider to get your desired pitch.
Practice and experiment with different settings to master autotuning.
Customizing Autotune Settings for Different Vocal Styles
Once you’ve gotten a handle on using autotune in GarageBand on your iOS device, it’s time to delve deeper and customize these settings for different vocal styles.
- Select ‘Track Controls’.
- Choose ‘Pitch correction’.
- Adjust the slider to make your singer sound like their desired style.
- Use the ‘Limit to Key’ feature to edit notes that fall outside of the chosen key.
With this version of GarageBand, customizing autotune settings is a breeze.
Emulating Popular Artists: Using Autotune Like Travis Scott

When it comes to autotune use, Travis Scott is an artist who’s mastered this tool to create a signature sound.
To emulate Scott’s autotune style, you’ll first need to carefully analyze his vocal effects.
Then, you can begin replicating these effects using the features and functions available in GarageBand.
Analyzing Travis Scott’s Autotune Style
Dive into the unique autotune style of Travis Scott to understand how you can emulate his sound in your own music production using GarageBand.
- Analyzing Travis Scott’s autotune style, notice his distinct use of pitch correction, more subtle than T-Pain’s.
- Experiment with GarageBand’s DAW, making use of its free autotune capabilities.
- Explore various plug-ins for a richer sound, like Travis Scott’s.
- Keep practicing, refining your skills, and soon you’ll master how to use autotune in Garageband.
Replicating Travis Scott’s Vocal Effects in GarageBand
To emulate Travis Scott’s distinct vocal effects in GarageBand, you’ll first need to understand the key elements that shape his autotune style.
Start by adjusting the Antares autotune to match his pitch perfection.
Use a quality microphone to capture clear vocals.
Apply reverb, delay, and compression to add depth and presence.
Exploring GarageBand Autotune Plugins
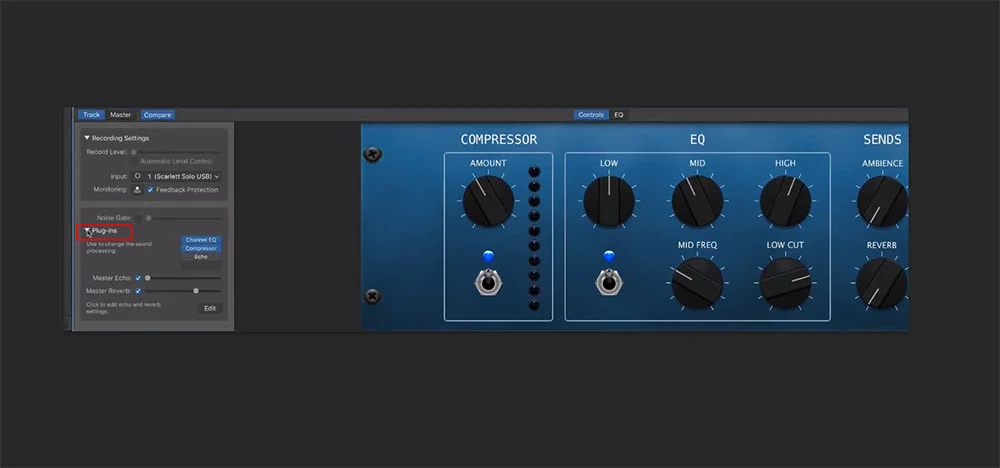
Now, let’s explore GarageBand Autotune plugins, both free and premium.
Understanding how to install and use third-party plugins is key to expanding your sound palette and achieving professional results.
These plugins can offer more features and a higher degree of control compared to the built-in pitch correction tools in GarageBand.
Best Free and Premium Autotune Plugins for GarageBand
You’ll find a vast array of both free and premium autotune plugins for GarageBand that can take your music production to the next level.
Here are four of the best:
- Antares Auto-Tune: This industry-standard plugin offers comprehensive pitch correction and manipulation.
- Celemony Melodyne: Known for precise pitch and time correction.
- Waves Tune Real-Time: Provides instant pitch correction with minimal latency.
- MAutoPitch: A free yet powerful autotune plugin.
- Additionally, if you’re looking for cost-effective solutions, you might want to explore these free Autotune VST plugins for GarageBand that can also enhance your music production.
Installing and Using Third-Party Autotune Plugins
If you’re looking to further enhance your music production, consider installing and using third-party autotune plugins in GarageBand. You’ll want to use the ‘limit to key’ feature for precision.
To install, you’ll need to click on the plugin you want and follow the prompts. Then, click on the track you want to apply the autotune to and select the plugin.
We’ll also show you how to use these plugins effectively.
Frequently Asked Questions
What is autotune in GarageBand?
Autotune, also known as pitch correction, is a feature in GarageBand that allows you to adjust the pitch of a vocal recording to ensure its in tune with your music. It can be used subtly to correct small pitch inaccuracies or more heavily to create a noticeable effect.
How do I access the autotune feature on GarageBand for Mac?
You can access the autotune feature by selecting your recorded track and clicking on the Track tab at the top. Then select Show Track Inspector, and under Audio section find âEnhance Tuningâ.
How do I control how much autotuning is applied in GarageBand?
The amount of auto-tuning applied can be controlled using the Enhance Tuning slider. If you drag it closer to 100%, more tuning will be applied, producing a stronger effect.
Can I use autotune on pre-recorded tracks?
Yes, you can use autotune on any audio track in GarageBand, whether it was recorded directly into the program or imported from elsewhere. Just select the track, open up Track Inspector and apply Enhance Tuning.
Are there different modes for autotuning in GarageBand?
Yes, there are two modes – automatic and manual. Automatic mode instantly tweaks your vocals to match nearby notes making them sound perfect while Manual mode allows you more granular control over what pitches get corrected.
What Are the Common Mistakes to Avoid When Using Autotune in Garageband?
You must avoid overusing autotune, which can make vocals sound robotic. Also, don’t neglect to set the correct key for accurate pitch correction. Lastly, always use autotune within the context of the entire song.
Can Autotune in Garageband Be Used for Live Performances?
Yes, you can use Autotune in Garageband for live performances. You’ll need to set up your track with Autotune beforehand, then play it during your performance. However, it’s not as efficient as dedicated live Autotune tools.
How Can I Troubleshoot Issues With Autotune in Garageband?
Troubleshooting Autotune in Garageband? Ensure you’ve correctly set the key of your track. If Autotune’s not working, check you’ve enabled ‘Limit to Key’. Experiment with the pitch correction slider to find your desired effect.
Are There Any Alternatives to Autotune Available in Garageband?
Yes, there are alternatives to Autotune in Garageband. You can use plugins like Melodyne or Waves Tune. They offer different features and controls, giving you more flexibility in adjusting pitch and creating unique vocal effects.
How Does Garageband’s Autotune Compare to Other Professional Music Production Software’s Autotune Features?
Garageband’s autotune is fairly basic compared to professional music software. It offers pitch correction but lacks advanced features. You won’t get the same level of control as with Pro Tools or Logic Pro’s autotune.
Final Thoughts
And there you have it – the ins and outs of using autotune in GarageBand.
Remember, mastering this tool isn’t a sprint, but a marathon. Take your time, experiment with the settings, and don’t be afraid to tune it up or down to find your sound.
After all, music is an art, not a science. So, crank up the creativity and let autotune in GarageBand be the wind beneath your musical wings.


