Plosives often mess up vocal recordings and can really hurt the sound quality.
These abrupt, explosive sounds are caused by the release of built-up air pressure when pronouncing certain consonants, resulting in a popping or thumping noise that can be distracting to listeners.
EQs are a powerful tool that can help mitigate the impact of plosives on vocal recordings, ensuring a cleaner and more professional sound.
Understanding Plosives in the Human Voice
Plosives are consonant sounds produced by completely blocking the airflow in the vocal tract, followed by a sudden release of air.
Common consonants that produce plosives include:
“P” and “B” (bilabial plosives)
“T” and “D” (alveolar plosives)
“K” and “G” (velar plosives)
When these sounds are pronounced, the burst of air can cause the microphone’s diaphragm to overload, resulting in a loud, low-frequency pop or thump in the recording.
Preventative Measures To Get Rid of Plosives
How To Get Rid of the S Sound in Vocals
One common issue that producers have when mixing vocals is taming the harsh “S” sound. While the S sound is not a plosive, the corrective mixing of this “S” sound is usually done when EQing plosives.
Here is a quick rundown on how you can get rid of the “S” sound in your vocals.
To get rid of the “S” sound (sibilance) in vocal recordings, follow these steps:
1. Use a De-Esser
Insert a De-Esser Plugin: Most DAWs have built-in de-esser plugins.
Adjust the Threshold: Set the threshold so that the de-esser activates only when sibilance occurs.
Set the Frequency Range: Typically target the 4-10 kHz range where sibilance is most prominent.
Fine-Tune Reduction: Adjust the amount of gain reduction to achieve a natural sound without over-reducing.
🏆 Our Favorite De-Esser VST Plugin
We’ve found that the FabFilter Pro-DS is one of the best out there.
The algorithms it uses to detect parts of the vocal that need de-essing are excellent.
Also the control you have over the de-essed vocal is second to none.
Its intuitive interface makes it easier for us to pinpoint and address problematic frequencies effectively.
Identify the Sibilant Frequencies: Sweep through the higher frequencies to isolate where the sibilance is strongest.
Narrow Band Reduction: Apply a narrow Q cut at the identified frequencies, usually around 4-10 kHz.
3. Dynamic EQ
Insert a Dynamic EQ Plugin: Similar to a standard EQ but with dynamic control.
Set the Target Frequencies: Focus on the sibilant range, around 4-10 kHz.
Adjust Threshold and Ratio: Set the dynamic EQ to reduce gain only when sibilance occurs.
4. Automate Volume
Manual Automation: Manually reduce the volume of the “S” sounds within your DAW’s automation lane.
Precision Control: This method allows for very precise control but is more time-consuming.
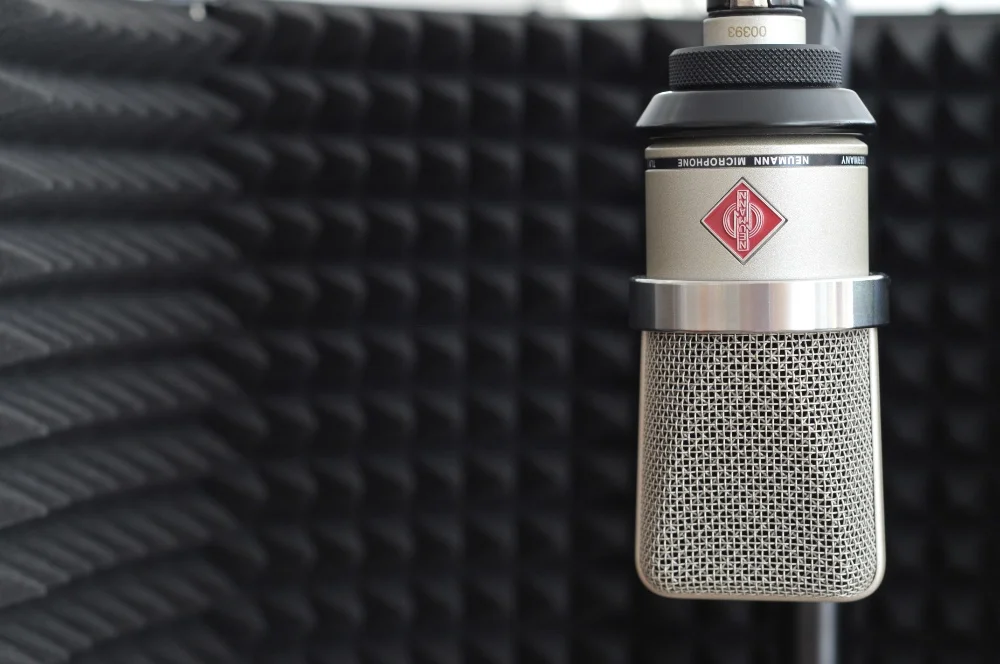
5. Use Proper Microphone Technique
Placement: Position the microphone slightly off-axis or use a pop filter to minimize sibilance.
Distance: Maintain an appropriate distance from the microphone.
By using these techniques, you can effectively reduce or eliminate sibilance and achieve a cleaner vocal recording.
Additional Tools and Techniques
In addition to EQ, de-essing tools can be effective in reducing the impact of plosives.
While primarily designed to attenuate sibilance (“S” and “SH” sounds), de-essers can also help tame plosives when set to target the appropriate frequency range.
Third-party software plug-ins, such as iZotope RX or Waves DeBreath, offer dedicated tools for plosive removal.
💙 We also love Nectar 4 by iZotope for ALL your vocal mixing needs. We use this all the time with Pro 3 and Pro-DS as it really gives you full control over every aspect of the vocal. Even adding in harmonies!
These plug-ins often employ advanced algorithms and spectral editing capabilities to identify and attenuate plosives with minimal manual intervention.
Some practical tips include:
Start with gentle EQ adjustments and gradually increase the intensity as needed
Be mindful of the proximity effect, which can exacerbate low-frequency plosives when the vocalist is close to the microphone
Use high-resolution visual feedback, such as spectrograms, to help identify plosive frequencies more accurately
Other Resources To Help You EQ Vocals
For further exploration of EQ techniques and vocal recording best practices, consider the following resources:
These resources offer in-depth insights and practical advice for optimizing your vocal recordings and EQing.
Subscribe to SoundShockAudio and , including Music Production Apps, Sample Packs, and more.
Take advantage of our comprehensive tools to create music that truly resonates with your audience.
Check out all our other articles on EQing other instruments.
Frequently Asked Questions
Should I boost or cut when EQing out plosives?
The general rule is to cut before you boost. Subtractive EQ -- removing problem frequencies -- sounds more natural and preserves headroom. If you need more brightness or presence, try cutting competing frequencies in other tracks first. Keep boosts subtle (2-3 dB) to avoid harsh results.
What is a high-pass filter and when should I use one?
A high-pass filter removes all frequencies below a set point, letting the highs pass through. Use it on most tracks except bass and kick drum to eliminate low-end rumble, mic handling noise, and room resonance. Setting a high-pass filter between 60-120 Hz cleans up your mix dramatically.
How do I find problem frequencies when mixing out plosives?
Use the boost-and-sweep technique: set a narrow EQ band with a strong boost (+8 to +12 dB), then slowly sweep it across the frequency spectrum. When a frequency sounds harsh or resonant, you have found the problem area. Reduce the gain to a modest cut (-3 to -6 dB) to fix it.
Should I EQ out plosives in solo or in the context of the full mix?
Always make your final EQ decisions while listening to the full mix, not in solo. A sound that seems thin by itself may sit perfectly in context. Solo mode is only useful for surgical tasks like finding resonant frequencies or removing noise.
How to remove plosives from vocals EQ?
Start by identifying the key frequency ranges that define your sound source. Use a parametric EQ to cut problem frequencies before boosting, and always A/B compare your changes. Our step-by-step guide above walks through the exact EQ settings and techniques.