Blog, Tutorials

The Definitive Guide To EQing A Snare Drum: Get The Perfect Sound!

By

Daniel Strongin

|

Updated:

|

16 minutes

read

Photo of a snare drum and drumsticks on a dark background.

Are you looking for the perfect snare drum sound, but haven’t been able to get it? Don’t worry – I’m here to help. As an experienced audio engineer, I know exactly how to EQ a snare drum and achieve optimum results within minutes. In this article, I’ll give you my definitive guide on getting that perfect tone out of your drums.

EQing is one of the most important aspects of achieving great sounding recordings. It’s essential when producing music in any genre, and especially when dealing with percussion instruments like snares. With the right techniques and knowledge, anyone can learn to dial-in their own signature sounds quickly and efficiently.

In this article, I’ll show you everything you need to know about sculpting a professional-sounding snare: from choosing frequencies to creating space between elements of your mix. You’ll be amazed at just how good your snare can sound once we finish! So let’s dive into The Definitive Guide To EQing A Snare Drum – Get The Perfect Sound!

What Is Equalization?

Equalization, or EQ for short, is an essential step in the recording process. It’s a technique used to adjust the balance of frequency components within an audio signal. By using sound equalization and audio equalization, you can shape the tone of your recordings to create the perfect sound. This is done by increasing or decreasing certain frequencies with dynamic equalization. With this method, unwanted tones are eliminated while desirable ones are accentuated – allowing engineers to achieve their desired sonic results. In order to get the best possible snare drum sound, it’s important to understand how EQ works and how it affects our recordings. Now that we have covered what Equalization is, let’s talk about choosing the right microphone for achieving optimal snare sounds.

Choosing The Right Microphone

Choosing the right microphone for a snare drum is like finding the proverbial needle in a haystack; it takes a keen ear and an eye for detail to get the perfect sound. It’s no wonder why so many engineers opt for trial-and-error when selecting the best mic. But with some careful consideration of frequency response, placement, and type, you can find that sweet spot between clarity and warmth quickly and easily.

When choosing your snare drum microphone, start by considering its frequency range; will you need a wide open condenser or something more focused like a dynamic? A wide open condenser will capture everything from every angle while still being able to focus on specific frequencies within its range. On the other hand, dynamics are better suited to capturing loud sounds without distortion due to their higher SPL (sound pressure level) ratings. For this reason, they make great choices for recording drums where there may be high levels of background noise. Additionally, if you’re looking for that classic ‘snappy’ sound associated with rock and pop music then a dynamic mic should be your go-to choice.

Once you’ve chosen which type of mic is best suited to your needs it’s time to think about placement – too close and you’ll pick up unwanted artifacts such as resonances; too far away and you won’t get adequate low end punch. Experimentation here is key – move around until you find just the right distance in order to get maximum clarity out of your snare drum recording! With these points in mind, setting up the microphone correctly becomes much more straightforward.

Setting Up The Microphone

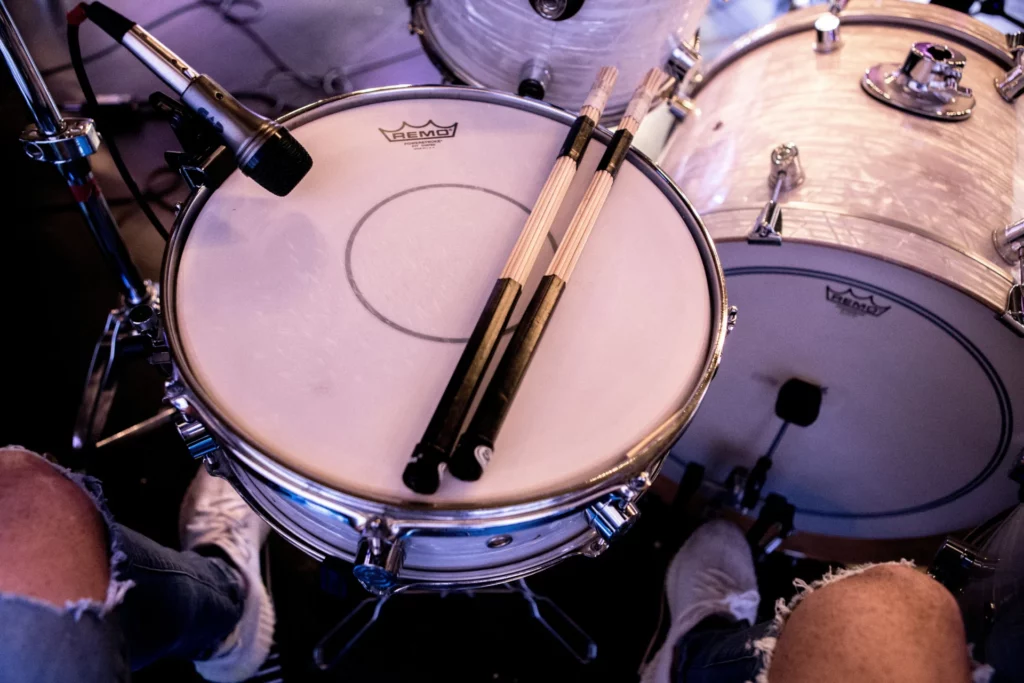
When it comes to setting up the microphone, it’s all about placement and choice. Where you place your mic is key for getting that perfect snare sound. To get started, make sure you have a good selection of mics available – dynamic or condenser will work well. Once you’ve decided on which one to use, position it roughly 6-8 inches away from the top of the drum head. This should give you a nice balance between capturing brightness and body in the tone of your snare. It’s also important to experiment with different distances as this can affect how much attack and snap the mic picks up from the beater hitting the skin.

At this point, you’ll want to double check that there are no other sounds being picked up by the mic apart from your snare – if so, adjust accordingly until only desired sources are audible through headphones or monitors. Now that your setup is ready to go, you’re ready to move onto adjusting EQ levels and fine tuning your sound.

Adjusting Eq Levels

EQing a snare drum is an art form! It’s one of the most important steps in getting your snare to have that perfect sound. There are several ways you can go about adjusting EQ levels for your snare, but here we’ll talk about how you can use the equalizer settings on your audio equipment to get the best possible results.

You need to start by setting up your eqing levels correctly. This means figuring out where each frequency range should be set in order to make sure everything sounds just right. You want to avoid boosting or cutting any frequencies too severely as this can cause undesirable effects such as muddiness, harshness, and even distortion. Once you’ve figured out what kind of range works best for your particular snare drum, then it’s time to start making level adjustments with the equalizer. Start off slowly and gradually adjust each frequency until you achieve the desired effect. Don’t forget that there are subtle nuances when it comes to eqing drums – sometimes small changes will yield big rewards!

Now that you know how to properly adjust EQ levels for your snare drum, let’s move onto applying compression.

Applying Compression

Compression is an essential tool when it comes to getting the perfect snare sound. It can help even out levels and smooth out a drum’s attack, making them punchier and more controlled. When adjusting compression settings on your snare drum, you’ll want to start with a low ratio and make small adjustments as needed depending on what type of sound you’re going for. You may also have to adjust the threshold setting too in order to get the desired result.

One important thing to consider when using compression on drums is that it will affect all aspects of the sound, not just the transients or loudest parts. So take time to experiment with different settings until you achieve the exact effect you’re after. And don’t be afraid to try out other effects if need be; adding some reverb or delay could really bring life into your snare! With a little patience and experimentation, you’ll soon find yourself crafting just the right sound for any track.

Experimenting With Other Effects

Now that we’ve explored the important aspects of applying compression to a snare drum, let’s take off our engineer hat and don our sound designer cap. It’s time to experiment with other effects to achieve an even more unique snare sound!

EQ techniques are essential for shaping your snare and getting it ready for mixing. From boosting or cutting frequencies, to using filters, there are plenty of options available when trying to get the perfect snare sound. Start by adjusting individual frequencies until you hear something that really stands out. Next, start experimenting with different EQ shapes like shelves or high-pass/low-pass filters – this can help give your snare some extra punch in certain parts of the mix. Finally, try adding subtle amounts of reverb or delay as well – these types of effects can create a sense of space around the snare which is great for creating atmosphere and texture in any track.

By combining all of these eq techniques together, you can easily craft a powerful yet nuanced snare tone that will blend perfectly into your mix. This process might seem daunting at first but once you understand how each element works together, balancing the snare drum in a mix becomes much easier!

Balancing The Snare Drum In A Mix

Finding the right balance of your snare drum in a mix is essential for creating a great sound. When mixing, it’s important to adjust all levels accordingly so that each instrument and element can be heard distinctly while still blending together. This is where snare-drum-mixing comes into play—it’s key to ensuring every part has its place within the song.

In order to achieve this balance, you’ll need to make sure your snare-drum-equalization is set correctly first. Once you have your desired tone, then you can start adjusting other elements such as panning, compression, and effects. You may also want to experiment with recording different takes and combining them during post-production or snare-drum-processing. This will help create unique sounds and textures that are specific to what you’re looking for in your music.

Now that you’ve got everything balanced out in the mix, it’s time to focus on fine tuning some details before moving onto making final tweaks for perfection.

Making Final Tweaks For Perfection

It’s time to make the final adjustments your snare drum needs for that perfect sound. Like a sculptor carefully chipping away at their masterpiece, you now have the opportunity to refine and tweak levels until you get exactly what you want in the snares mix.

Carefully listen back as you adjust each of the EQs on your drum eq. Make small changes and note how it affects everything else in the mix – sometimes just boosting one frequency can completely change the way your track sounds, so experiment with different combinations of settings before committing. When you finally find something that works, don’t forget to save it! This will help you avoid having to start from scratch if something unexpected happens later down the line.

Now that all of your hard work is done, take some time to enjoy the fruits of labor – once you’ve got the right balance of highs and lows coming through, there’s nothing quite like hearing a snare sounding crisp, clean and thumping!

Frequently Asked Questions

How Do I Know Which Type Of Microphone To Use For My Snare Drum?

When it comes to selecting the right microphone for a snare drum, there are several factors that should be taken into account. As an audio engineer, understanding mic type and selection is key to getting the sound you’re looking for. There are various types of microphones available when it comes to recording a snare drum; dynamic mics, condenser mics, ribbon mics etc., each with their own unique characteristics and strengths.

Dynamic microphones tend to work best on louder sources such as drums since they can handle higher SPLs compared to other sensitive types of microphones like condenser or ribbon. However, if you want more detail in your recordings then a condenser mic may be better suited because they capture more nuances in sound than most dynamics do. Ribbon mics also give a pleasingly warm tone with less transient response which can make them ideal for capturing subtle elements from a snare drum’s attack. Ultimately, it all depends on the sound you’re going for and what kind of details you need recorded – but regardless of which microphone type you choose, proper placement relative to the source is essential in order to get optimal results.

What Is The Best Way To Adjust The Eq Levels For A Snare Drum?

Ah, the eternal question: what’s the best way to adjust EQ levels for a snare drum? It’s like trying to fix an old car engine without instructions. You can spend hours fiddling around with knobs and sliders while getting nowhere fast! But don’t worry – if you’re willing to put in some effort, you too can achieve perfect sound on your snare drum mix. Here are my top 5 tips for adjusting eq levels on a snare drum:

  • Start by cutting out any frequencies that aren’t necessary or desired. This will help create clarity and leave only those frequencies which add value, such as attack and snap.

  • Next, boost the low end of the frequency range to increase punch and thump from the kick drum.

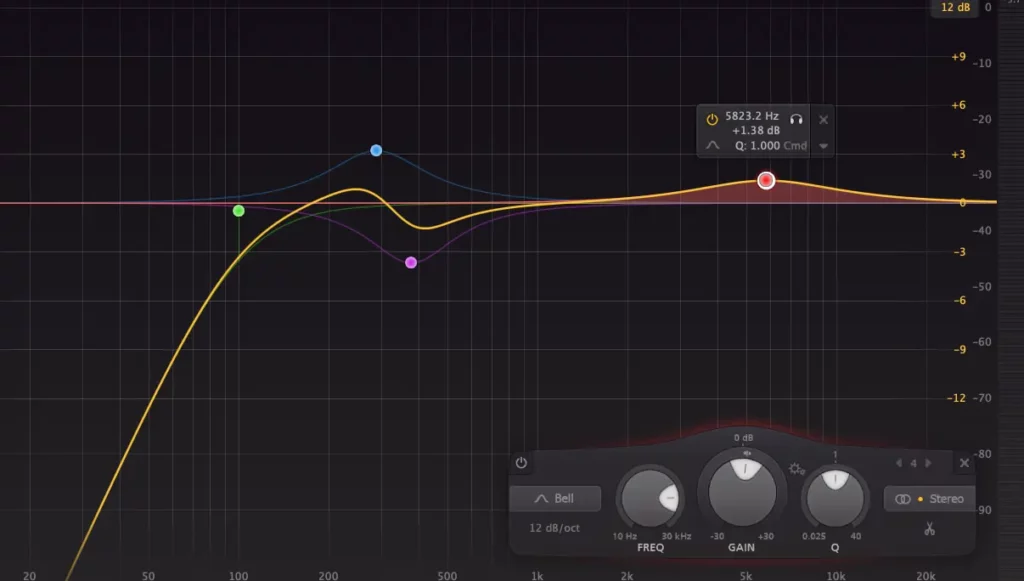
  • Then focus on boosting midrange frequencies between 250 Hz – 4 kHz to bring out presence in your snare drum mix. Be careful not to overdo it here though; too much mid-range can make things sound muddy or harsh.

  • After that, subtly boost high frequencies above 8kHz for airy sparkle and brightness. Increase gradually until you get the desired effect (but no more!)

  • Finally, use automation techniques such as sidechain compression to keep your drums sounding consistent throughout the track. This is especially important when mixing multiple layers of drums together.

As an audio engineer I know first hand how difficult it is to get just the right amount of equalization on a snare drum mix; there’s so many variables at play! However, with these five steps as your guide, you should be able to achieve fantastic results quickly and easily—so go ahead and start tweaking those knobbs and sliders! Good luck!

What Other Effects Can I Use To Get A Unique Sound Out Of My Snare Drum?

When you’re mixing drums, it’s important to think about how other effects can be used to get a unique sound out of your snare. For example, adding reverb or distortion effects on top of the EQ levels can add depth and texture to the drum without overloading it with frequencies. Similarly, experimenting with different drum compressions can give you more control over the dynamics of your snare sound.

In addition, don’t forget that room mics are your friends when it comes to recording drums – they provide natural ambience and help make sure all elements in the kit blend together nicely. Finally, if you want an interesting take on your snare sound, try using mute techniques such as gating or ducking for creative results. All these tricks will give you plenty of options for creating something special from your snare!

How Do I Balance The Snare Drum In A Mix?

Balancing a snare drum in a mix requires attention to detail, an understanding of the sound you’re trying to create, and knowledge of EQing techniques. When mixing a snare drum, it’s important to take into account all aspects that can affect its balance within a track – from the tone and level of the instrument itself to how it interacts with other instruments or sounds in the mix. To achieve optimal balance when mixing a snare drum, one must consider both the frequency range of the instrument as well as how it relates to everything else in the mix.

When balancing a snare drum in a mix, start by finding out what frequencies your particular snare is most prominent at. This will help you decide which frequencies to boost or cut for optimum clarity and impact. It may also be necessary to adjust levels between different elements within your mix such as kick drums, hi-hats, cymbals etc., so that they all work together without competing against each other. Additionally, experimenting with reverb settings on individual sounds can add depth and character while preserving overall dynamics. Finally, try adding compression if needed – this will bring out any subtle nuances in your snare drum while helping maintain sonic consistency throughout the rest of your mix.

In short, there are many steps involved in getting great sounding results when mixing a snare drum. By taking time to analyse each element within your track and applying appropriate treatment where needed using EQs, compressors and reverbs – you’ll be able to find just the right balance for your snare during mixing.

How Do I Make Final Tweaks To The Snare Drum For The Perfect Sound?

As a sound engineer, I know that the final tweaks to a snare drum are essential for achieving the perfect sound. Although it can be daunting trying to find the right mixing techniques and eq settings, making small adjustments is an art in itself. For instance, consider boosting mid-range frequencies of around 500Hz to add some body without overcrowding your mix. You could also experiment with cutting high end frequencies between 8kHz – 12kHz to reduce any harshness or sibilance coming from the snare drum.

These subtle changes will go a long way towards crafting the ideal snare drum tone in your mix. It’s worth noting that you may need to adjust other elements as well, such as reverb and compression, depending on how much presence you want from the snare drum. Having said that, if you focus on finding the perfect balance between these minor alterations then you should be able to get great results in no time at all! To summarize my point; tweaking different aspects of the snare drum is critical when striving for that elusive perfect sound.

Conclusion

As a sound engineer, I can confidently say that the perfect snare drum sound is within reach. With the right microphone selection and EQ adjustments, you’ll be able to get an incredible snare tone that will stand out in any mix. Then, with careful effects usage and balancing of the snare in your mix, it’s possible to take this already great sound to a whole new level. Finally, when all these elements come together, you’ll have created something truly special – an absolutely thunderous snare drum sound!

Creating such a powerful snare drum isn’t just about getting everything set up perfectly though – it also requires some finesse on your part as well. Just making minor tweaks and paying attention to small details can make all the difference between an average sounding snare drum and one that really stands out from the crowd. So don’t be afraid to experiment and push yourself beyond what seems comfortable; trust me, you won’t regret it once you hear how awesomely punchy your final result sounds!

Whether you’re a seasoned pro or complete beginner when it comes to engineering drums, creating amazing sonic sculptures from simple snares is totally achievable if you know what techniques and tools are available at your disposal. Don’t give up until you’ve achieved exactly what you want; extraordinary results await those who persevere through trial-and-error until they find their own unique approach!

Access over 4,000+ Free Music Production Tools

“SoundShockAduio

Subscribe to SoundShockAudio and access our extensive library of free music production tools, including Music Production Apps, Sample Packs, and more. Take advantage of our comprehensive tools to create music that truly resonates with your audience.

Need more help when it comes to EQing check out the article, how to eq rock bass.

Also check out this other article how to eq rhythm guitar, for more EQing tips.

Leave a Comment

Get Instant Access to Dreamy LoFi and Complete Drums Sample Packs

Take your drums and LoFi tracks to the next level. Sign up now and get access to over 1,250 free samples! 

The Largest Collection of Free Music Production Tools On the Internet