Blog, Tutorials

The Ultimate Guide to Eq-ing Rock Bass – Tips for Professional Quality Sound

By

Daniel Strongin

|

Updated:

|

17 minutes

read

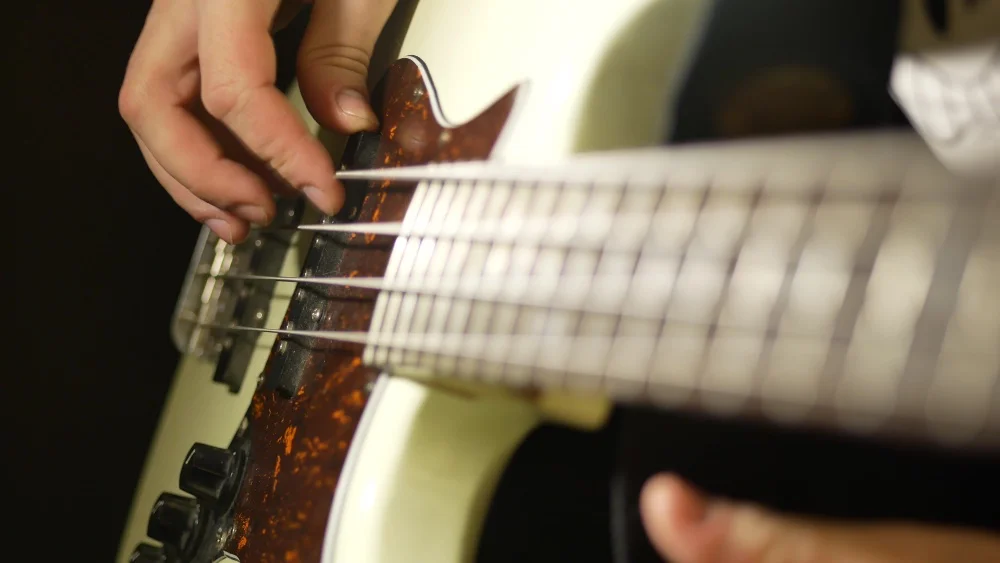
Close up of a person playing a bass guitar with Perfect Sound.

If you’re an audio engineer or producer looking to achieve a professional quality sound with your rock bass, you’ve come to the right place. In this article, we’ll share the ultimate guide to equalizing (EQ-ing) rock bass for maximum clarity and impact. We’ll explain how EQ can help bring out the best in any mix and provide tips on achieving that punchy, full sound everyone is after. So if you want your rock bass tracks to really stand out, keep reading!

As an experienced mixing/mastering engineer, I know firsthand how important it is to get the EQ just right when working with rock bass. It’s all about finding the perfect balance between high end clarity, low end weight and midrange presence. With proper use of EQ, your music will have more energy, depth and drive – something every listener appreciates!

In this article, we’ll cover everything from basic concepts of frequency bands and their purpose, to practical advice on creating unique sounds tailored specifically for each track. By the time you finish reading our guide, you’ll be armed with enough knowledge to take your mixes up a notch! Let’s dive in…

Definition Of Eq

Equalization (or EQ for short) is a powerful tool for shaping and refining the sound of an instrument or vocals. By manipulating different frequency ranges, an engineer can manipulate the tone to create unique and special sounds that bring out the desired elements in a mix. The frequency range available on EQs allow us to dial in exactly how we want our instruments to sound – from subtle adjustments that might just add warmth or presence, to drastic changes that can completely reshape the soundscape.

At its core, EQing involves understanding the dynamic range and frequency response of an instrument or vocal track, as well as knowing what needs to be boosted or cut so that it fits into a particular mix. To really hone in on this process, one must have a good grasp on the fundamentals of audio engineering and music mixing/mastering before being able to make informed decisions about equalization. Having a thorough knowledge of all these aspects helps us understand what each number represents within the frequency spectrum; which will be discussed further in the next section.

Understanding The Frequency Spectrum

Now that we have a better understanding of what EQ is, let’s dive into the frequency spectrum and how it applies to getting professional quality sound out of rock bass.

The frequency spectrum refers to all the different ranges or frequencies in which sounds exist. These frequencies range from 20 Hz (lowest audible) up to 20kHz (highest audible). A good way to visualize these sounds are like layers of an onion with each layer representing a particular frequency-range within the entire spectrum. Each instrument has its own unique set of frequencies making up its tone and timbre, so being aware of where those key elements sit on the frequency curve is essential for successful mixing.

When eq-ing rock bass there are several techniques you can use:

  1. Cutting Frequencies
  2. Identifying any muddiness in the low end
  3. Removing harshness in upper mids and highs

  4. Boosting Frequencies

  5. Adding clarity by boosting mid-frequencies around 500Hz – 1kHz
  6. Enhancing note definition by boosting lower mids around 200Hz – 400Hz
  7. Bringing out higher harmonics by boosting high end around 4kHz – 8kHz

It’s important to remember that when applying EQ, less can be more! Too much boost or cut can cause problems with phase cancellation or create harsh, unnatural sounding tones. By using subtle boosts or cuts at strategic points across the frequency spectrum you will achieve optimal tonal balance for your mix.

EQ should also be used in combination with other tools such as compression and distortion to shape your overall sound even further. With careful consideration placed on each element, you’ll be able to craft a signature ‘rock’ bass sound tailored specifically for your project.

Types Of Equalizers

Equalization (EQ) is the process of altering an audio signal’s frequency spectrum to attain a desired sound. There are several types of EQs that can be used when mixing rock bass, and each has its own capabilities and applications. It’s important for producers/engineers to understand these different equalizers before they start adjusting the low end.

 ParametricGraphicShelfSemi-ParametricDynamic
Shape    
Filter Type     
Bandwidth Control    

The most common type of EQ is parametric, which allows users to adjust three parameters – frequency, gain and bandwidth or “Q”. This provides accurate control over individual frequencies while allowing other areas of the mix to remain untouched. Graphic equalizers divide the frequency range into multiple bands with fixed frequencies, making it easy to boost or cut specific ranges without affecting others. Additionally, shelf EQs allow users to adjust either the high or low end in one simple move whereas semi-parametrics provide more targeted control than graphic but less precision than parametric. Lastly, dynamic EQs compare incoming audio signals against a user defined threshold so that only certain parts exceed it, thus dynamically boosting or cutting those sections as needed.

When using any type of EQ for rock bass production, it’s essential for engineers/producers to experiment with different settings until they find what works best for their project. Although there isn’t one single approach that will always yield perfect results, understanding how each tool functions helps ensure professional quality sound is achieved every time. With this knowledge and some practice under their belt, producers/engineers should easily be able to dial in great sounding mixes!

Adjust The Low End

Now that you’ve got a handle on the different types of equalizers, it’s time to get into specifics. To really make your bass sound stand out and have professional quality, start with the low-end adjustment. It’s all about getting those low-end frequencies just right; too much or too little will leave your mix sounding unbalanced. Start by boosting around 80Hz and then adjust as needed based on what type of bass sound you’re going for. When boosting, be careful not to overdo it—you don’t want any muddiness in the lows! As you tweak these frequency bands, listen carefully to how they affect the overall bass eq and take notes so you can reference them when mixing later on. After adjusting the lows, move onto tweaking the mid-range.

Tweak The Mid-Range

Midrange-tweaking is essential when EQing rock bass. It can be tricky to get right, but it’s key for achieving professional quality sound. Here are some tips on how to do it:

  • Start by cutting out any unwanted frequencies below 300 Hz. This will help clean up the mid-range and make room for more midrange-shaping later in the process.
  • Next, use a parametric equalizer to adjust specific frequency bands within the midrange – this will allow you to fine tune your sound and achieve precise midrange-enhancement.
  • Finally, experiment with boosting or cutting certain areas of the mid-range – this kind of midrange adjustment can make all the difference in getting that perfect tone!

Once you’ve got a good balance between low end and high end, use these same techniques to further shape your sound by manipulating mids in subtle ways. For example, try boosting lower mids around 250 Hz for added warmth or adding presence into higher mids at 2 kHz if needed. With careful midrange-manipulation, you’ll have no problem getting great results from your EQs!

Enhance Highs And Presence

One interesting statistic to consider is that the human ear can only hear frequencies between 20 Hz and 20 kHz. Enhancing the highs, or treble, of a rock bass recording will help bring out nuances in your sound while still maintaining clarity and presence in the mix. To do this effectively, you’ll need an equalizer (EQ) plugin with at least 4 bands that offer frequency boosts for high-end boost, presence boosts, treble boosts, and other frequency boosts.

EQ BandFrequency Range
Low< 200Hz
Low-Mid200 – 500 Hz
High-Mid1Khz – 5Khz
High>5kHz – 15/20 KHz (depending on how bright you want it to be)

To get started with boosting your highs, start by setting all band gains to 0dB; then begin increasing gain on the high-mid band first as it’s considered the most important frequency range when enhancing vocals or instruments. When adjusting any of these bands make sure not to overdo it as too much boost can quickly lead to distortion or muddiness in your mix. Instead focus more on subtlety here strive for balance and clarity.

Once you’ve set up your EQ settings properly, you should notice improved sound clarity and better separation throughout the mix due to enhanced highs and increased presence across different elements like drums and guitar riffs. With proper adjustments made here combined with compression techniques later on, you’ll have yourself a professional sounding production!

Compression

Compression is an essential tool for EQ-ing rock bass, helping to increase the perceived loudness of a track while also controlling dynamic range. When applied correctly, it can give your mix added punch and clarity. There are several compression techniques you should understand in order to maximize its potential benefits during mixing. Compression ratios indicate how much gain reduction will be applied to signals that exceed the threshold level; higher ratios result in more aggressive compression settings. Additionally, there are various types of compression plugins available with unique features and characteristics; these can be used when crafting custom compression styles. Finally, careful application of attack and release times allows you to control transients within your signal and tailor the compressor’s response accordingly. Transitioning now into reverb for dimension…

Reverb For Dimension

Now that you have mastered the art of compression, it’s time to take your rock bass sound to a whole new level – by adding reverb for dimension. Reverb is one of the most powerful tools for creating professional-sounding recordings and mixes.

Reverb helps give life and depth to any recording, including rock bass guitar. Here are three simple steps that will help you quickly get up to speed with using reverb:

  1. Choose the right type of reverb for your track – hall, plate or room?
  2. Set the decay time so that it doesn’t overpower the mix.
  3. Adjust the wet/dry ratio for just the right amount of ambience.

Adding reverb can completely transform a flat sounding bass line into an immersive sonic experience! With careful use of this effect, you can add incredible depth and clarity while still retaining tightness in your low end frequencies. You’ll be amazed at how much more impactful and punchy your rock bass sounds when combined with reverb!

Frequently Asked Questions

What Is The Difference Between Eq And Compression?

When it comes to achieving professional quality sound, understanding the difference between a equalizer (EQ) and compressor is essential. EQs are used to shape frequency response by boosting or cutting certain parts of the audio spectrum while compressors control dynamics which affects loudness levels in an audio signal.

To help paint a picture for the audience, here’s a 3 item bullet point list that explains both processes:

  • Equalizers adjust the level of specific frequencies within an audio signal. This can be done with either parametric or graphic EQs depending on what type of tone shaping you need.
  • Compressors reduce dynamic range by reducing the volume of louder sounds and increasing the volume of quieter sounds in order to achieve balance in overall loudness.
  • Both EQ and compression have their place in any mixing/mastering engineer’s toolkit and when used together they can create amazing results.

Using these two tools correctly helps bring out clarity, definition, and punch from your bass recordings. When using them together, make sure to start with EQ first so you get a good representation of the resonant frequencies before applying compression as this will give you more accurate results. Experimentation is key – try different settings until you find something that works best for your project!

How Do I Know When To Use An Eq Or A Compressor?

It’s often difficult to know when to use an EQ or a compressor in any given situation. It can be likened to playing chess, where every move needs to be carefully thought out as it has the potential of making or breaking the sound. To make sure you are using these tools effectively and getting that professional quality sound, here are some tips for understanding the difference between eq vs compression and how they should be used in live performances.

When comparing EQ vs compression, it is important to remember that one doesn’t take precedence over the other; they both have their own unique roles and functions. An EQ will help shape frequencies while compressors keep levels consistent and even throughout a mix. Using an EQ properly can add clarity and definition to a track which makes it easier for listeners to pick up on nuances within the music. On the flip side, using a compressor sparingly helps create balance by controlling dynamics so all instruments sit comfortably together without overpowering each other.

In order to get a professional sounding mix with rock bass:

  • Use reverb wisely – Reverb adds depth but too much can quickly drown out your vocals and guitars. Experiment with different amounts until you find what works best for your song.
  • Adjust eq settings based on instrument type – Every instrument requires its own unique set of adjustments due to its frequency range so experiment accordingly until you achieve desired results.
  • Compress selectively – When applying compression don’t go overboard as this will limit dynamics which could affect overall energy levels in the performance. Instead, focus on individual elements such as kick drums and snare hits that need more control than others do.

By following these guidelines, audio engineers/producers should be able to achieve great sounding mixes with minimal effort! Understanding how best to utilise both eqs and compressors will result in superior sonic quality no matter if mixing for recording or performing live shows – allowing for maximum impact from tracks across all platforms!

What Is The Best Type Of Equalizer To Use In A Live Setting?

When it comes to live sound reinforcement, the best type of equalizer (EQ) to use is one that can provide precise control over the frequencies being amplified. Live EQs are designed for quick and accurate manipulation of tone on stage or in a concert setting. They offer an array of features that make it easier to shape your sound while still maintaining a professional quality mix. Here’s what you need to know when selecting the right EQ for a live setting:

  • Look for an EQ with adjustable frequency bands so you can fine-tune each band individually. This will give you greater flexibility when manipulating your overall sound.
  • Consider using a multi-band compressor if you want more control over dynamics and shaping individual instrument tones during a performance. Multi-bands compressors are also great for controlling feedback from onstage monitors and amplifiers, which can be problematic in larger venues.
  • Make sure to choose an EQ with low noise levels, as this will help ensure that your signal remains clean even at high volume levels.

Live sound engineers and producers have many options when it comes to choosing an appropriate EQ for their setup. From basic single-band units to advanced digital models, there’s something out there for everyone whether they’re performing in small clubs or large stadiums. The key is finding one that provides enough control over each frequency range without sacrificing clarity or presence in your mix. Ultimately, having the right equipment on hand ensures maximum sonic impact both on stage and offstage – making it essential to select the right live EQ!

What Is The Most Effective Way To Use Reverb To Add Dimension To A Track?

Reverb can be like a secret sauce for any track, adding depth and texture that takes the music to another level. It’s an essential tool in any audio engineer or producer’s arsenal, but knowing how best to use it isn’t always easy. So what is the most effective way to use reverb to add dimension to a track?

When mixing with reverb, there are several techniques you can employ depending on your desired effect. To create a sense of space, try using subtle amounts of low-end decay combined with high frequency reflections – this will help create an immersive atmosphere without cluttering up the mix. You can also experiment with varying send levels sent from different parts of the arrangement as well as carefully adjusting pre-delay times so each instrument has its own unique presence within the mix. For example, sending drums via two separate channels – one which is heavily reverberant and one which is dryer – allows you to blend both together and craft an even bigger sound.

By combining these various reverb techniques and tools along with other effects like EQ and compression, you’ll be able to dial in just the right amount of ambience while still maintaining clarity in your mix. Learning how to effectively use reverb when producing or engineering tracks is key if you want professional quality results every time, so take some time to get familiar with all its features and functions!

How Can I Use Eq To Add Clarity And Definition To A Track?

When it comes to equalizing a track, having control over the frequency ranges and dynamic range of the audio is essential for adding clarity and definition. This is especially true when it comes to rock bass. With careful use of EQ, you can shape the tone and add depth so that your tracks stand out from the crowd.

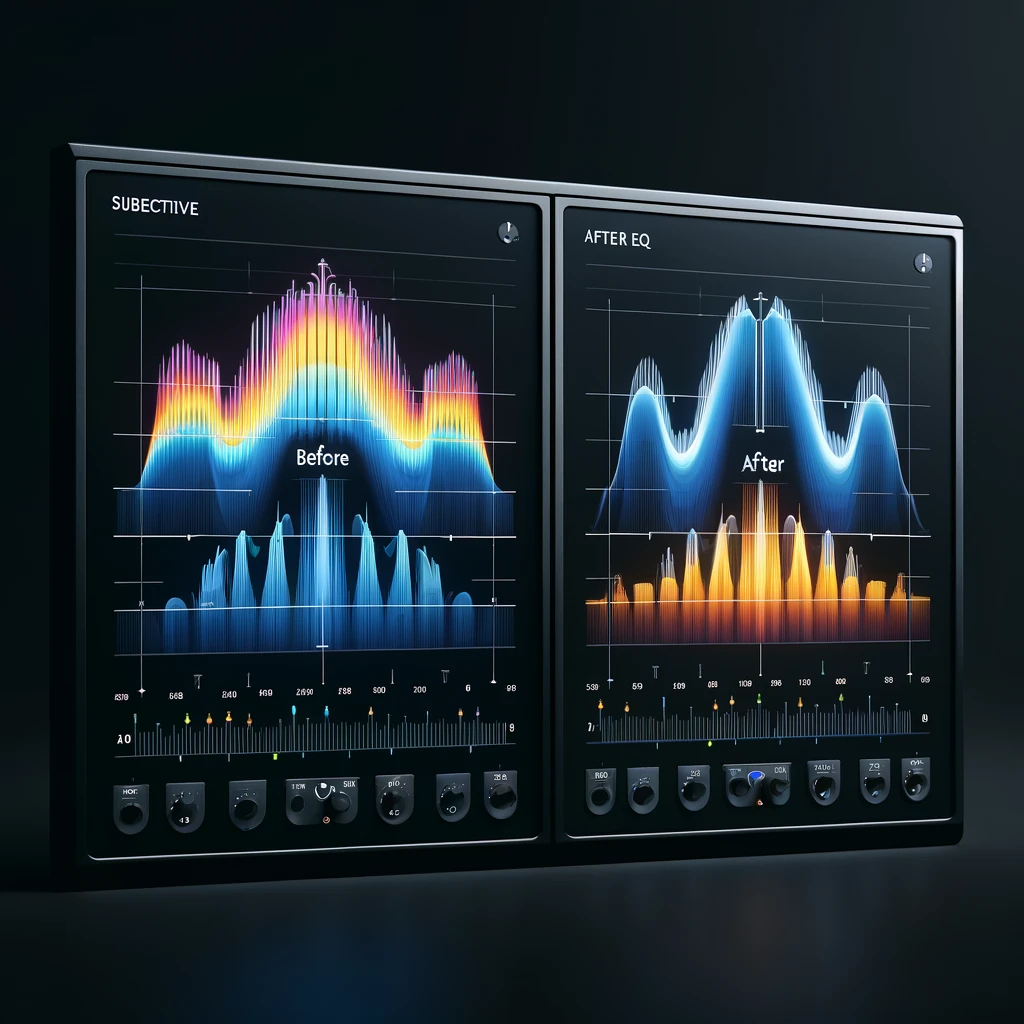
To achieve this level of control, look at both subtractive and additive equalization techniques. Subtractive EQ involves cutting frequencies in order to reduce unwanted elements from cluttering up a mix while additive EQ boosts specific areas to help define particular sounds or instruments within a mix. For example, if you want to give some extra oomph to your bassline, you could use an additive boost around 80-100 Hz. You can also tweak other frequencies – like mids and highs – depending on how much clarity or presence you’re looking for in your sound.

You should also be aware of dynamics when using EQ – too much boosting can create muddy mixes with no headroom left for vocals or other instrumentation. It’s important to experiment with different settings as well as listen carefully during playback; making small adjustments can make all the difference between an average sounding track and one with professional quality sound!

Conclusion

The use of EQ and compression in music production is a powerful tool. When used correctly, these techniques can help create professional-level sounds that bring out the best in any track. As an audio engineer or producer, it’s important to learn how to properly apply EQ and compression so you can take your sound to the next level.

When working with rock bass tracks, it’s helpful to know when and how much to EQ and compress. Having a good ear for frequencies and understanding what kind of equalizer works best for different kinds of projects will go a long way towards creating great sounding mixes. Additionally, learning how to add reverb and other effects creatively can really make your mix stand out from the rest.

Overall, using EQ and compression effectively requires dedication, practice, and patience – but once you get the hang of it there’s no limit on what you can accomplish! It’s like climbing a mountain; step by step, technique by technique – eventually you’ll reach the summit where you have full control over every element of sound. I’m confident that if you stick with it then soon enough you’ll be able to produce professional quality rock bass recordings effortlessly!

Access over 4,000+ Free Music Production Tools

“SoundShockAduio

SoundShockAudio offers a comprehensive library of free music production tools, including VST plugins, Synth Presets, Kontakt Instruments, and more.

Subscribe today to start creating professional-sounding music with the best free tools available.

Need more help when it comes to EQing check out the article, how to eq rhythm guitar.

Also check out this other article how to eq keys, for more EQing tips.

Leave a Comment

Get Instant Access to Dreamy LoFi and Complete Drums Sample Packs

Take your drums and LoFi tracks to the next level. Sign up now and get access to over 1,250 free samples! 

The Largest Collection of Free Music Production Tools On the Internet