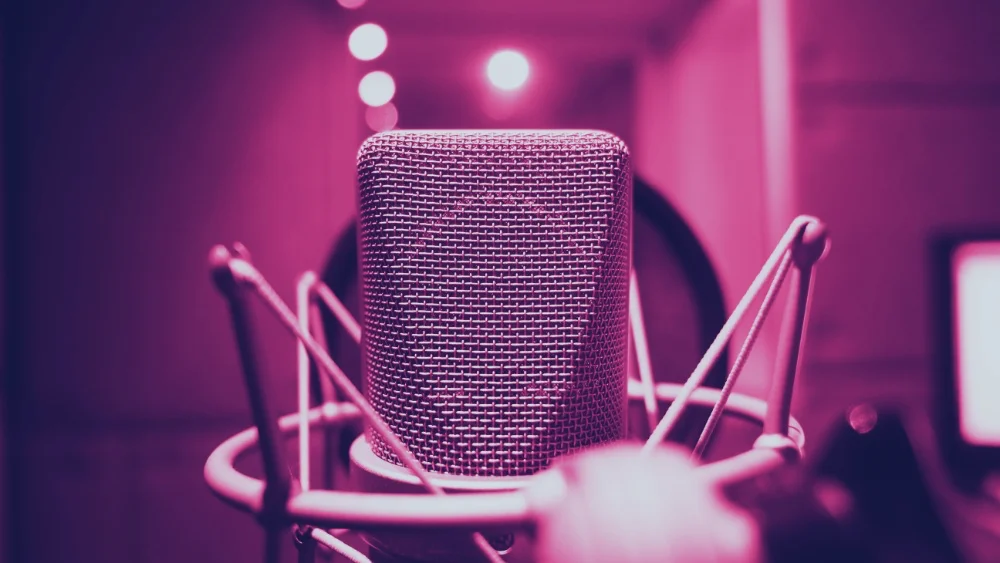
Room mics capture the true vibe and feel of a recording spot. They bring out the space’s natural sounds, making recordings feel alive and real. Without them, tracks can sound flat or lifeless, like a photo without color. I’ve noticed how adding room mics lifts a mix by adding depth and warmth that close mics miss. Fun fact: studios often place room mics carefully to catch subtle echoes and reflections, giving each recording its own unique personality. Musicians and producers who want their music to jump out at listeners will find room mics a game-changer. Keep reading to discover how these mics breathe life into every note.
By strategically placing and EQing room mics, engineers can add depth, dimension, and realism to their mixes.
In this article, we’ll cover the best equalizer settings for your room mics and how you can get a professional sound.
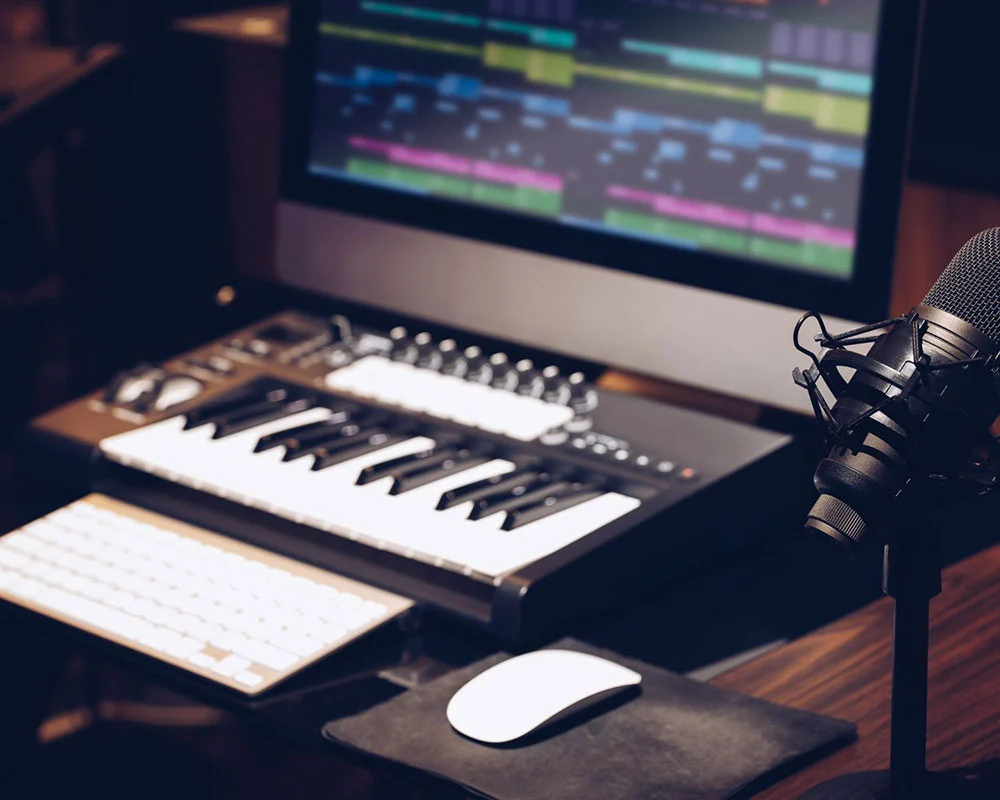
Understanding Room Mics
Common Mistakes To Avoid
When EQing room mics, be aware of these common mistakes:
Over-EQing: Applying excessive EQ can result in an unnatural, processed sound. Use EQ judiciously and make subtle adjustments.
Neglecting the low-end: While cutting low frequencies can improve clarity, be careful not to remove too much low-end, as it can lead to a thin, anemic room sound.
Boosting too much in the midrange: Excessive boosting in the midrange can introduce harshness and boxiness. Use narrow Q cuts to address specific issues instead.
Remember, the goal is to enhance and complement the natural sound of the room, not to completely alter it.
Additional Resources
To further your knowledge and skills in EQing room mics, explore these additional resources:
By engaging with these resources and participating in online communities, you’ll continue to learn, grow, and refine your skills in EQing room mics and beyond.
Subscribe to SoundShockAudio and
Frequently Asked Questions
Should I boost or cut when EQing room mics?
The general rule is to cut before you boost. Subtractive EQ -- removing problem frequencies -- sounds more natural and preserves headroom. If you need more brightness or presence, try cutting competing frequencies in other tracks first. Keep boosts subtle (2-3 dB) to avoid harsh results.
What is a high-pass filter and when should I use one?
A high-pass filter removes all frequencies below a set point, letting the highs pass through. Use it on most tracks except bass and kick drum to eliminate low-end rumble, mic handling noise, and room resonance. Setting a high-pass filter between 60-120 Hz cleans up your mix dramatically.
How do I find problem frequencies when mixing room mics?
Use the boost-and-sweep technique: set a narrow EQ band with a strong boost (+8 to +12 dB), then slowly sweep it across the frequency spectrum. When a frequency sounds harsh or resonant, you have found the problem area. Reduce the gain to a modest cut (-3 to -6 dB) to fix it.
Should I EQ room mics in solo or in the context of the full mix?
Always make your final EQ decisions while listening to the full mix, not in solo. A sound that seems thin by itself may sit perfectly in context. Solo mode is only useful for surgical tasks like finding resonant frequencies or removing noise.
Need more help when it comes to EQing?
Check out the articles:
How to EQ room mics?
Start by identifying the key frequency ranges that define your sound source. Use a parametric EQ to cut problem frequencies before boosting, and always A/B compare your changes. Our step-by-step guide above walks through the exact EQ settings and techniques.
What are the best EQ settings for an equalizer?
Check our curated list above for the top-rated free options. Each pick was evaluated for quality, compatibility, and real-world usability in music production.