Listen To This Article In Podcast Format
Overhead microphones play a crucial role in capturing the overall sound of a drum kit.
They pick up the cymbals, the toms, and the general ambience of the kit, providing a cohesive and balanced representation of the drummer’s performance.
However, to truly optimize the sound of the overheads, you need to EQ them well.
In this article we’ll cover how you can not only EQ your drums but also on how to nail your drum overhead mic placement to get the best possible mix.
Overhead Mic Placement
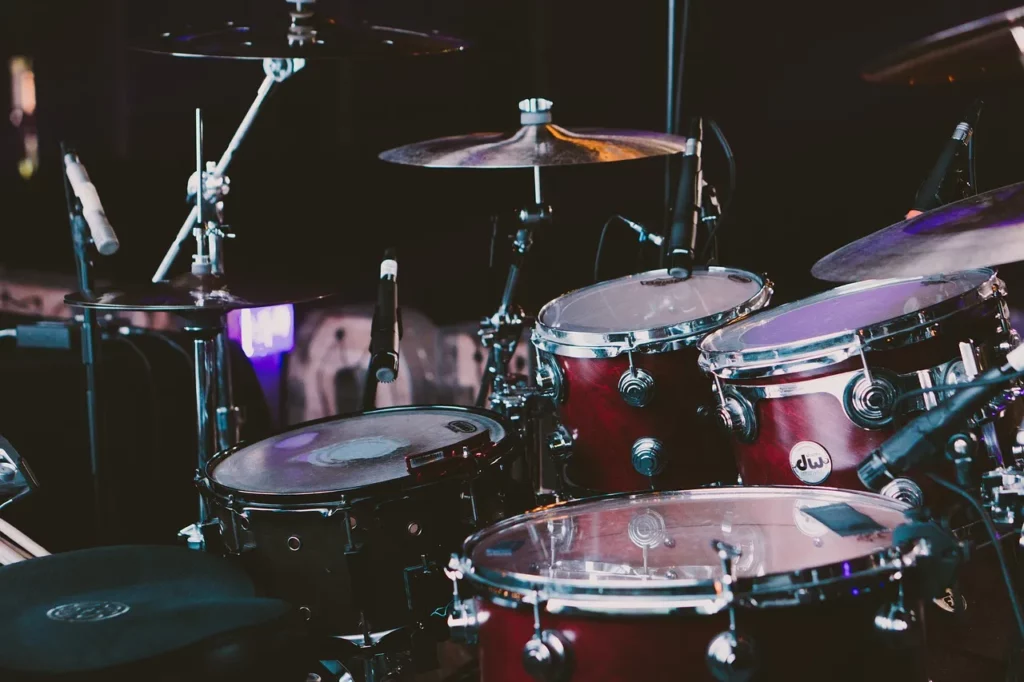
It’s important to start with the best possible overhead mic placement.
Without a good recording you’re going to struggle to get a clean and punchy sound when EQing.
The positioning of the mics can have a significant impact on the captured sound, affecting the balance between cymbals, toms, and the overall kit.
Experiment with different placements to find what works best for your specific kit and recording space.
Here are some common methods for your overhead mic placements:
Spaced Pair (A/B Configuration)
- Placement: Position two cardioid or omnidirectional microphones a few feet apart above the drum kit, typically aiming down at the cymbals.
- Stereo Image: Provides a wide stereo image but may introduce phase issues.
- Distance: Ensure both mics are equidistant from the snare to avoid phase problems.
X-Y Configuration
- Placement: Use two cardioid condenser mics arranged with the elements as close together as possible at a 90-degree angle.
- Stereo Image: Offers a focused, phase-coherent stereo image.
- Height: Place them directly over the snare to keep it centered in the stereo field.
ORTF Technique
- Placement: Position two cardioid condenser mics 17 cm apart, angled 110 degrees from each other.
- Stereo Image: Provides a phase-coherent stereo image with more width and cymbals relative to the rest of the drum kit.
Glyn Johns Technique
- Placement: One mic is placed 3-4 feet above the snare, and the second mic is placed over the drummer’s shoulder, looking towards the hi-hat.
- Stereo Image: Ensures both mics are equidistant from the snare, offering great coverage of the entire kit.
Recorderman Technique
- Placement: One mic is placed directly above the snare, about two drumsticks’ length above it, and the second mic is placed over the drummer’s shoulder, also pointing at the snare.
- Stereo Image: This technique helps avoid phase issues and keeps the kick and snare centered.
Mid-Side (M/S) Configuration
- Placement: Use one cardioid mic pointing directly at the sound source (mid mic) and one figure-of-eight mic set perpendicular to the mid mic (side mic).
- Stereo Image: Provides a highly controllable stereo image and is mono-compatible.
General Tips for Overhead Mic Placement
- Height Adjustment: Adjusting the height of the mics can control the amount of room sound and stereo width. Higher placement captures more room ambiance, while lower placement offers a tighter sound.
- Phase Issues: Always check for phase issues by ensuring mics are equidistant from a central point like the snare drum.
- Ambience Control: Bringing the mics lower reduces ambience, while raising them increases roominess.
Let’s now cover the EQing of your drum overheads.
Identifying Frequencies To Cut
When EQing overheads, it’s often necessary to make strategic cuts to problematic frequency ranges.
Low-end rumble and muddiness, typically below 100-200 Hz, can clutter up the mix and make the drums sound boomy and indistinct.
Use a high-pass filter to gently roll off these low frequencies, cleaning up the low end and allowing the kick and bass to occupy that space instead.
Another common issue is boxiness from snare bleed, which often resides in the 200-500 Hz range.
A narrow cut in this area can help reduce the boxy character and improve clarity.
Harsh cymbal frequencies, usually around 3-5 kHz, can also be tamed with a precise cut to smooth out the overall cymbal sound.
| Frequency Range | Problem | Solution |
|---|---|---|
| Below 100-200 Hz | Low-end rumble, muddiness | High-pass filter |
| 200-500 Hz | Boxiness from snare bleed | Narrow cut |
| 3-5 kHz | Harsh cymbal frequencies | Precise cut |
Can The Right EQ Plugin Transform Your Overheads?
7-Day-Money-Back-Guarantee
Boosting Frequencies for Enhancement
In addition to cuts, targeted boosts can enhance the positive aspects of the overhead sound.
Here is a table of the frequency ranges and boosts to make to these areas for a specific sound:
| Frequency Range | Description |
|---|---|
| 8-12 kHz | Add “air” and brightness to cymbals |
| 5-7 kHz | Enhance attack and stick definition |
| 100-250 Hz | Fatten up toms in the overheads |
EQ Techniques and Tips for Drum Overhead EQing
When applying EQ to overheads, a combination of different techniques can yield the best results.
High-pass filtering is essential for removing low-end rumble and cleaning up the mix.
Surgical cuts with a narrow Q (bandwidth) are ideal for precisely targeting and taming specific problem frequencies without affecting the surrounding areas too much.
For enhancing desirable ranges, gentle broad boosts with a wide Q can add character and dimension without sounding unnatural.
It’s also crucial to check the phase alignment between the overhead mics, as phase issues can cause frequency cancellations and a thin, weak sound.
Adjust the mic positions or use subtle time-alignment tools to ensure good phase coherence.
Here is a summary of the tips and techniques:
- Use high-pass filtering to remove low-end rumble
- Make surgical cuts with narrow Q to tame problem frequencies
- Apply gentle broad boosts to enhance desirable ranges
- Check phase alignment between overhead mics
- Adapt EQ to complement close mics and overall mix
Genre and Style Considerations
The approach to overhead EQ can vary depending on the genre and desired drum sound.
For more open, natural-sounding drums, a lighter touch with EQ can be appropriate, preserving the inherent character of the kit and room.
In contrast, modern, polished drum sounds often benefit from more aggressive EQ, with stronger cuts and boosts to achieve a tighter, more focused sound.
Consider the overall production style and how the overhead EQ complements the close mics on individual drums.
The goal is to create a cohesive and balanced drum sound that fits the musical context.
Here is a table of the EQ approach to your overhead drums by genre
| Genre | EQ Approach |
|---|---|
| Jazz | Light, preserving natural kit sound |
| Rock | Moderate, balancing punch and clarity |
| Metal | Aggressive, tight and focused sound |
| Hip-hop | Strong low-end, crisp high-end for cymbals |

Access 4,000+ Music Tools
Access our entire library of music tools including sample packs, VST plugins, DAW templates, and much more.
Additional Resources For Learning how to EQ your Drum Overheads
- “Tips for Mixing Drum Overheads” by Pro Audio Files
- “How to Repair Overhead Mics in a Mix” by David Glenn
- “Tips for Recording Drums: Overhead Microphone Placements Compared” by Sonic Scoop
Access over 4,000+ Music Production Tools

Subscribe to SoundShockAudio and access our vast library of tools, including VST Plugins, DAW templates, sample packs, and more.
Need more EQ help?
Check out all our EQing articles:



hey, readin this i wonder if the right eq plugin really magic or it’s just about knowin how to use em? always thought it was more about ur ears than gear. Daniel, what’s your take?
It’s a mix of both, MaggieS. A good EQ plugin can open up possibilities, but your ears are ultimately the best tool.
hey Daniel, got a quick q – when you talk about mic placement, how do you factor in room size? got a pretty small space and wondering if that changes things. cheers.
Not Daniel, but in small rooms, you gotta be careful with reflections. Sometimes less is more with mics. Just my 2 cents.
Actually, mic placement in small rooms requires absorbing as many reflections as possible. Precise placement can mitigate unwanted noise.
In small rooms, you’ll deal with more reflections and less desirable acoustics. Opt for dynamic mics for overheads to minimize room noise, and consider lowering them closer to the drums to focus more on direct sounds. X/Y configurations can help manage phase issues and keep the sound tight. Also, experimenting with the Recorderman or Glyn Johns techniques might suit small spaces well. Don’t forget to experiment with mic placements—sometimes even slightly off-center setups for the kit can make a big difference in sound quality!
if my tracks still sound lame after all this eq magic, maybe i should just stick to playin them not makin them lol
hey, ever think like the drums are just too loud? like, why do they even need mics, right? lol
Great section on EQing overheads, Daniel! It’s refreshing to read content that dives deep into the nuanced art of sound enhancement instead of just surface-level tips.
Boosting frequencies for enhancement part was super helpful. Noticed major improvements in my mix already. Nice one, Daniel!
Digging the tips on boosting frequencies. Going to experiment with my overheads at soundcheck tonight. Always looking to make the kit pop in the mix.
always struggle with overhead mic placement, thanks for the tips Daniel, gonna try it out tonight, hope to get those crispy hi-hats.
While I agree with most points, I wonder if the emphasis on EQ might lead some to overlook the importance of raw, natural drum sound. Thoughts?
so you’re saying if i twist enough knobs, my garage band will finally sound good? groundbreaking.
genre and style considerations, feels like a game changer for sure, each track demands its own eq approach after all.
I believe that while the article presents EQ techniques efficiently, it lacks a comprehensive dive into analog vs. digital EQ implications on sound quality. Thoughts, Daniel?
That’s an interesting point, Vinyl_Vince. I think the digital realm offers a breadth of flexibility, yet analog warmth is unmatched.
In response to the section on frequency cuts, it’s crucial to remind readers that cutting too much in the lower frequencies can make your drums sound thin. Always A/B your changes.
Interesting read. Never knew how much went into recording drums. Makes me appreciate drum tracks more, honestly.
Loved the final thoughts section, really tied everything together for me. Can’t wait to apply these tips to my home recordings. Thanks a bunch, Daniel!