The tambourine usually flies under the radar in a song.
It adds sparkle and rhythm that can really lift the whole track.
Many don’t realize it can make music feel alive and juicy, like a secret ingredient in a tasty recipe.
When played right, it can turn a dull beat into something that grabs your attention and makes your foot tap.
People who love music and want to discover hidden sounds will find the tambourine a game-changer.
Keep reading to find out how this simple instrument can transform the way you hear music.
Its unique timbre and rhythmic presence can add a distinctive flavor to various musical genres.
But if you don’t EQ it correctly, the timber a rhytmic presence won’t come through.
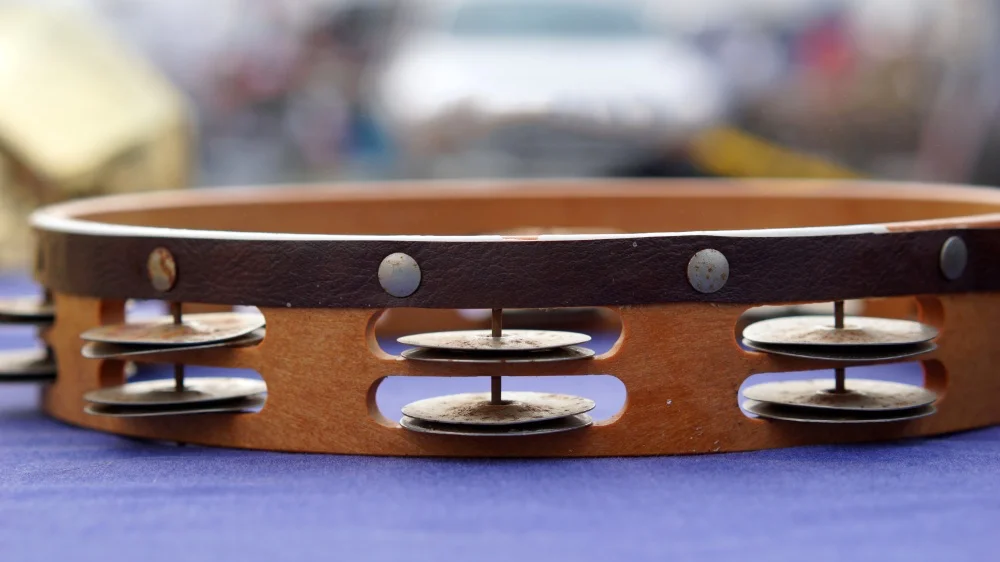
In this article, we’ll cover how to get a good tambourine percussion instrument recording and then how to EQ the tambourine in your mix.
Get a Good Tambourine Recording
Frequently Asked Questions
Should I boost or cut when EQing a tambourine?
The general rule is to cut before you boost. Subtractive EQ -- removing problem frequencies -- sounds more natural and preserves headroom. If you need more brightness or presence, try cutting competing frequencies in other tracks first. Keep boosts subtle (2-3 dB) to avoid harsh results.
What is a high-pass filter and when should I use one?
A high-pass filter removes all frequencies below a set point, letting the highs pass through. Use it on most tracks except bass and kick drum to eliminate low-end rumble, mic handling noise, and room resonance. Setting a high-pass filter between 60-120 Hz cleans up your mix dramatically.
How do I find problem frequencies when mixing a tambourine?
Use the boost-and-sweep technique: set a narrow EQ band with a strong boost (+8 to +12 dB), then slowly sweep it across the frequency spectrum. When a frequency sounds harsh or resonant, you have found the problem area. Reduce the gain to a modest cut (-3 to -6 dB) to fix it.
Should I EQ a tambourine in solo or in the context of the full mix?
Always make your final EQ decisions while listening to the full mix, not in solo. A sound that seems thin by itself may sit perfectly in context. Solo mode is only useful for surgical tasks like finding resonant frequencies or removing noise.
How to eq tambourine?
Start by identifying the key frequency ranges that define your sound source. Use a parametric EQ to cut problem frequencies before boosting, and always A/B compare your changes. Our step-by-step guide above walks through the exact EQ settings and techniques.
How do you use eq on a mix?
This is an important consideration when EQ-ing in your mix. Our guide above covers the specific frequency ranges, techniques, and settings you need. Follow our step-by-step approach for consistent, professional-sounding results.
Where should tambourine be panned?
Check our curated list above for direct download links to each recommended option. All links go to official developer websites to ensure safe, legitimate downloads.
Final Thoughts
The key is to start with a good recording, make intentional EQ decisions based on the musical context, and always trust your ears.
With these resources and the techniques covered in this guide, you’ll be well on your way to achieving professional-sounding tambourine tracks in your mixes.