The upright bass gives off a deep, warm sound that fills the room like a cozy blanket on a cold night. Its tones reach down low and vibrate through your chest, making you feel the music in your bones. Many jazz and blues musicians swear by its rich voice, and some even say it brings songs to life in a way electric bass just can’t match. If you want to explore the true heart of rhythm and soul, this instrument holds secrets that can transform any tune into something unforgettable. Keep reading to find out what makes the upright bass stand apart from the rest.
This unique timber of an upright bass makes it tricky to EQ and sit in mix.
In this article, well cover how you can EQ and mix your upright and double bass for a professional sounding mix.
EQing an Upright Bass
When it comes to equalizing an upright bass, it’s important to know what type of EQ to use.
Parametric EQs are often preferred for their precision and flexibility, allowing you to target specific frequencies and adjust the bandwidth (Q) of the EQ bands.
The timbre and character of an upright bass should guide your EQ decisions.
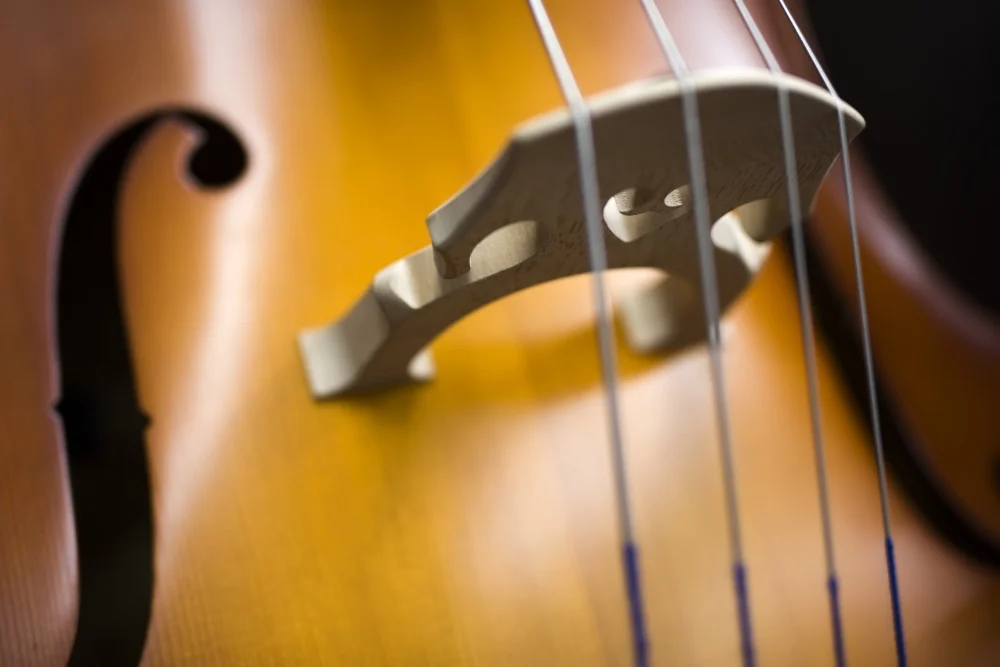
A well-recorded upright bass will have a natural, woody tone with a strong fundamental frequency and harmonics.
Your goal should be to enhance these desirable characteristics while minimizing any unwanted frequencies that may clash with other instruments in the mix.
🏆 Our Favorite Plugin for EQing an Upright & Double Bass
When you are working with upright basses, you tracks usually have a lot of dynamics in them from the bass and other instruments. Nothing handles these dynamics better and more precisely than Fab Filter Pro Q 3.
You can easily maintain clarity and presence in the mix with this award winning EQ. We’ve found the Pro Q 3 to be the best EQ for EQing upright & double basses.
In this electronic track, the upright bass is processed and manipulated to fit the sparse, atmospheric arrangement.
The bass has a tight, focused low-end (likely achieved with a high-pass filter) and a subtle boost in the upper mids to maintain its presence in the mix.
Frequently Asked Questions
Should I boost or cut when EQing upright bass & double bass?
The general rule is to cut before you boost. Subtractive EQ -- removing problem frequencies -- sounds more natural and preserves headroom. If you need more brightness or presence, try cutting competing frequencies in other tracks first. Keep boosts subtle (2-3 dB) to avoid harsh results.
What is a high-pass filter and when should I use one?
A high-pass filter removes all frequencies below a set point, letting the highs pass through. Use it on most tracks except bass and kick drum to eliminate low-end rumble, mic handling noise, and room resonance. Setting a high-pass filter between 60-120 Hz cleans up your mix dramatically.
How do I find problem frequencies when mixing upright bass & double bass?
Use the boost-and-sweep technique: set a narrow EQ band with a strong boost (+8 to +12 dB), then slowly sweep it across the frequency spectrum. When a frequency sounds harsh or resonant, you have found the problem area. Reduce the gain to a modest cut (-3 to -6 dB) to fix it.
Should I EQ upright bass & double bass in solo or in the context of the full mix?
Always make your final EQ decisions while listening to the full mix, not in solo. A sound that seems thin by itself may sit perfectly in context. Solo mode is only useful for surgical tasks like finding resonant frequencies or removing noise.
How to EQ upright bass amp?
Start by identifying the key frequency ranges that define your sound source. Use a parametric EQ to cut problem frequencies before boosting, and always A/B compare your changes. Our step-by-step guide above walks through the exact EQ settings and techniques.
What is the 1 2 4 technique on a bass?
An EQ (equalizer) adjusts the balance of frequency components in audio. It's the most fundamental mixing tool, used on virtually every track. Free EQ plugins range from simple graphic EQs to fully parametric models with spectrum analyzers.
What should my bass EQ be set at?
This is an important consideration when EQ-ing in your mix. Our guide above covers the specific frequency ranges, techniques, and settings you need. Follow our step-by-step approach for consistent, professional-sounding results.
Final Thoughts
EQing an upright bass is a delicate balance of enhancing its natural, warm tone while ensuring it sits well in the context of a mix.
By understanding the frequency spectrum of the instrument, applying genre-specific techniques, and avoiding common mistakes, you can achieve a professional, polished sound.
SoundShockAudio has got you covered. Save time Googling for free tools and subscribe today and to create professional-sounding music.